Once the DNS settings have been properly configured, your email service is ready to be used. Now, you need to create email accounts for users on your Domain. You can either add one user account at a time or multiple accounts at once.
Create a new email account
To add a new email account, follow the steps below:
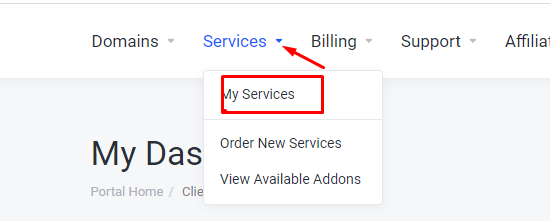
- Login to your client area, and click on Services>>> My Services.
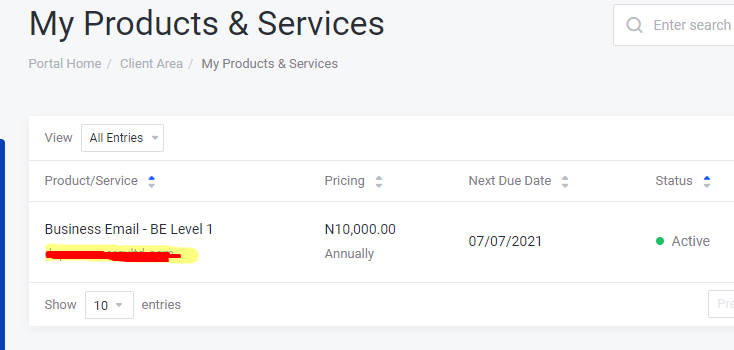
- Click on the Email hosting service you want to create email accounts for.
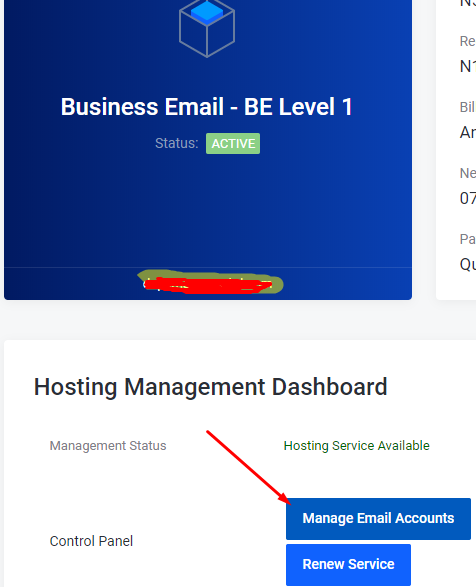
- Go to the product page for the email hosting product you have purchased. Click on Manage Email Accounts. You will be redirected and automatically logged into the admin area of your email hosting account.
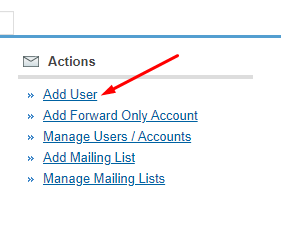
- Under Actions, click on Add User.
- Enter the necessary details needed to create the account. It is advisable to add an alternate email address, so all-important communication, such as password reminders, related to the account you are creating will be sent to this address.
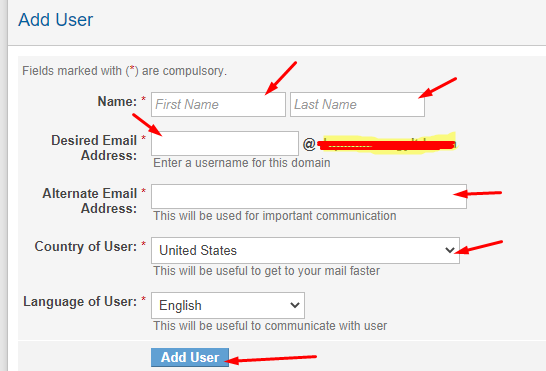
- Click on the Add User button to complete the creation of the account
Once the account is created, a success page will be displayed. This page will provide details of the account that you have added, including a password that is generated for the user and server details for configuring the account in a desktop email client such as Outlook or Thunderbird. This information will automatically be emailed to the alternate email address you have provided.
N.B. You may also visit our YouTube page, https://www.youtube.com/watch?v=FOi37vg4v-Y to watch a video on how email accounts can be created.
Creating Multiple Email Accounts
If you have several users you want to create email accounts for, you can create them at once using a CSV file, instead of creating them one after the other. All you need to do is download the CSV file and then update the file with the correct information.
To download a sample of the CSV file, please follow the steps below:
- Go to the product page of the email hosting account you purchased
- Click on the manage email accounts. You will be redirected to the admin area for the email hosting account
- Go to Mail on the menu and click on Add Bulk Users. Click on Download a sample file
- Add the necessary details in the CSV form: Username (the email address), First Name, Last Name, Password, Country code (e.g. NG for Nigeria) and the alternate email address
- Once you are done with adding the necessary details, save the file.
- On the Add Bulk Users page, click on the Choose File button and select the saved CSV file.
- Once the file has been uploaded, the entire list will be displayed on the page. If you are satisfied that the accounts are in order, click on Confirm and Upload.
Please understand that it may take a while for the accounts to be created, depending on the number of email accounts you are creating.
You can also watch the video below to learn how to create additional email accounts